


This time around (cosplay number three) I've taken on a slightly more difficult idea and I've made everything from scratch except the shoes and I took on a small piece of armor. On the other hand, it's been a bit easier because I have a sewing machine now and don't have to make every stitch by hand.
I started with the pants. I've made a pair before, in junior high school, but I didn't even remember that until I sat down to write this. Therefore, I really had nothing to go off of. I stared at a pair of my own pants for a few minutes, measured them made some marks on the fabric and then snip snip. Let me just tell you, this plan did not work at all. One leg was to big, the other to small, the crotch from the front didn't reach the crotch in the back (awkward!) and on and on. Big fail.
I went to bed after that attempt feeling a bit defeated and ready for some online shopping to find a ready made pair.
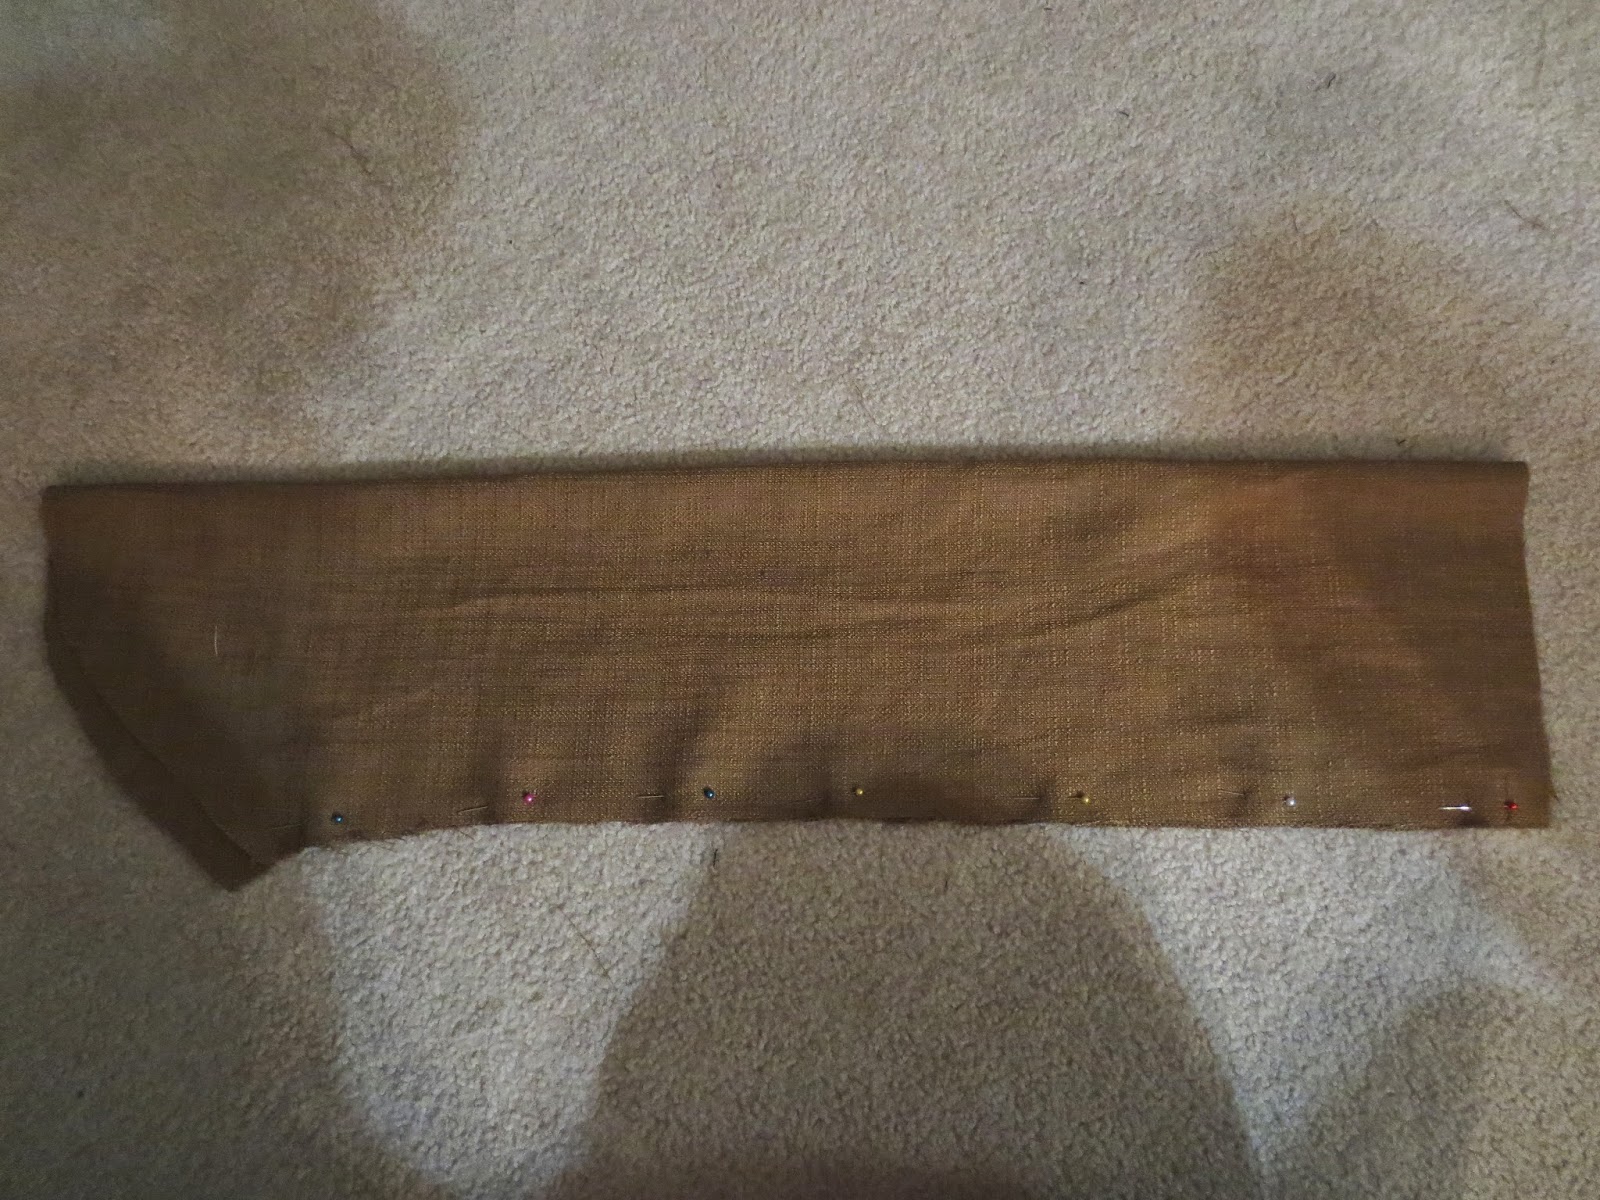
When I got up, BAM! I suddenly knew what I had done wrong. I tried to fix the issue using the previously cut fabric but it wasn't really salvageable. Take two. Suddenly, and randomly might I add, knowing how to make pants I got right to it. I cut up a pair of old pants that were destined for the trash and used them as a stencil of sorts. This helped with the fit. A few pins, snip snip, a few more pins and over to the sewing machine. This time around I decided not to over think things and so I didn't even try them on before I started to sew. For me, the actual sewing part is easy. I left hemming until the end. I figured for the sake of length I should at least try them on at this point. I have to say, they are about perfect. Exactly what I wanted. A bit large in the waist, but since they have a drawstring and I'll be wearing a belt, this was no issue. Completion! This whole project from start to finish took about 2 hours.


Next I started to work on my shirt. The plan for what I wanted to make seemed simple enough, fitted sleeves, faux-leather panels down the sides of the body and a v neck.As I worked and learned and ran into challenges my shirt took on a new shape. Not what I expected, not what I tried for, but now I love it. Straight sleeves, open sides and a high straight neck. Totally unique and somehow just right. Again, I used really clothes for stencils.
On the way to the final product, I did have a small tantrum.. Or maybe 2. What can I say though, trying to make sleeves attach to bodies is a difficult and frustrating business.


Arya may be a Lady by birth, but really, she isn't. She's a fighter. A warrior. For this, I decided she needed to have at least a little bit of armour. And a sword.
Making the armor chest piece was something totally new. Neither Chad nor I have attempted it before, but it turned out quite easy. It's made using foam floor mats and a heat gun that should be used for removing paint from walls.

To start, I cut the shape I wanted out of a poster board. Basic and simple. Then I used that as a stencil and cut it out of the floor mat using a hobby knife. Once it looked the way I wanted the edges got sanded down a bit and on to the heat. Basically, the heat gun warms (and slightly melts) the mat and it can be bent into whatever shape is desired. Just hold it in the shape until it cools and it stays that way. Done.


For detail, I used the hobby knife to cut the House Stark sigil out of modelling clay. It turned out pretty good, I think. I also made little rounded bits for extra interest.
From there, the sigil and "buttons" got glued on and everything was painted and then ink washed to make it look aged.


I wasn't sure how I was going to keep the armor on originally, but with a little thought I came up with something that works perfectly for me and is very simple. Instead of adding my fur to the cape as I had previously imagined, I sewed snaps to the fur and armor and am now able to wear them together like a... necklace, I suppose. Everything stays in place, it's comfortable and it looks just how I wanted. Can't ask for much more than that.

For a cape, I very simply cut a big rectangle, slightly gathered it along the top and hemmed the sides. I left the bottom raw so it has a more warn look. I also added a long ribbon to keep it on with. Having the ribbon around my neck was undesirable though so I ended up cutting a longer piece so it could go across my chest and under one arm.
Lastly was the sword, Needle. I found it very difficult to find good reference pictures of it but eventually got there. Because it is so skinny I used a wooden dowel painted silver. The details and hilt are made with craft foam and modelling clay (my faves!) and then painted. I'm pretty happy with how this turned out as well.


And that's, that. I'm overall really pleased with how it turned out!
Happy Cosplaying!
xoxo
You can look forward to pictures of it all put together and on me very soon!


0 comments:
Post a Comment